- Proper surface preparation—cleaning, repairing, and sanding—is essential for a long-lasting exterior paint job.
- Choosing the right paint and finish for your home’s material and climate ensures durability and professional results.
- Timing matters—paint only in suitable weather conditions to prevent peeling, cracking, or uneven drying.
- Use the correct tools and techniques, such as cutting in, rolling in patterns, and maintaining a wet edge for smooth coverage.
- Safety should never be overlooked—wear PPE, use ladders and scaffolding correctly, and protect yourself from chemicals.
- Avoid common mistakes like rushing prep work, using the wrong paint, and inconsistent application.
- Regular maintenance and touch-ups extend the life of your exterior paint and preserve your home’s curb appeal.
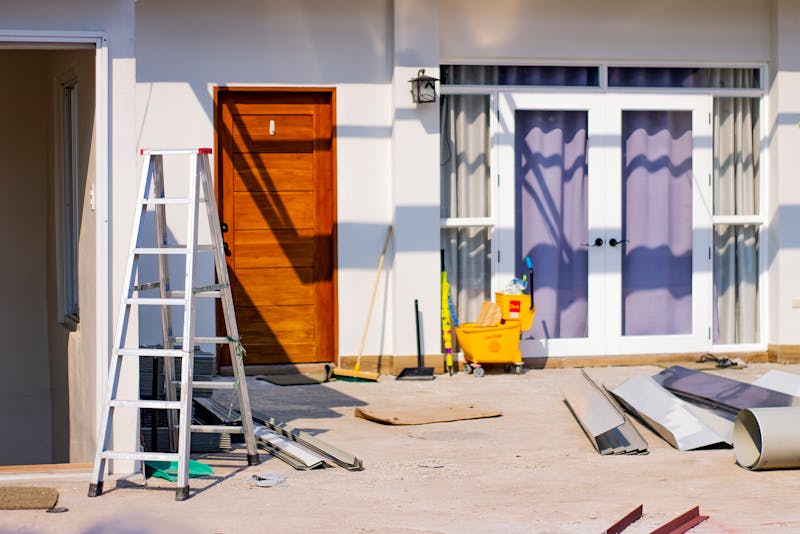
Painting your home’s exterior can dramatically enhance its curb appeal, protect your walls from weather damage, and increase overall property value. However, a successful paint job isn’t just about choosing a color you love. Homeowners need to carefully consider surface preparation, weather conditions, paint types, and proper techniques before diving into the project. Without the right approach, even the most attractive color can peel, fade, or look unprofessional.
In this comprehensive guide, we will explore exterior painting tips that every homeowner should know. From surface preparation to applying the final coat, you’ll gain practical advice, actionable strategies, and insights to ensure your exterior paint job looks professional and lasts for years.
Why Proper Preparation is Key Before Painting Your Exterior
Before even opening a can of paint, proper preparation is essential. Many homeowners underestimate how much time and effort go into prepping surfaces, but it’s the difference between a long-lasting paint job and a short-lived one.
Preparation includes cleaning the surfaces, repairing damages, sanding rough spots, and protecting surrounding areas like windows and landscaping. Skipping this step can lead to peeling paint, uneven coverage, or a project that looks rushed.
Investing time in preparation ensures that your paint adheres properly and that the final result will look smooth and vibrant. It’s also an opportunity to identify structural issues like cracks or rot that need repair before painting.
Cleaning and Washing Your Home Exterior
A clean surface is critical for proper paint adhesion. Dirt, mold, mildew, and grime can prevent paint from sticking, leading to flaking and uneven coverage.
- Pressure Washing: Use a pressure washer to remove built-up dirt and mildew. Be careful with older siding to avoid damage.
- Mild Cleaning Solutions: Use water and mild detergent for smaller areas or delicate surfaces. Scrub it gently using a soft-bristled brush.
- Rinse Thoroughly: Ensure all soap residue is removed to prevent discoloration or paint bubbling.
Regular cleaning also helps you identify underlying issues, such as water damage or insect infestations, before painting.
Repairing and Sealing Damages
Exterior surfaces often have cracks, holes, or damaged siding. Fixing these problems before painting is crucial to ensure a smooth finish and prevent water infiltration.
- Fill Cracks and Holes: Use an exterior-grade filler for small cracks or gaps. Large holes or damaged siding may require replacement.
- Seal Gaps: Apply caulk around windows, doors, and trim to prevent water from seeping behind the paint.
- Inspect Wood: Check for rot or insect damage and replace affected areas to ensure longevity.
Proper repairs not only enhance the appearance but also protect your home from further deterioration.
Choosing the Right Paint for Your Exterior
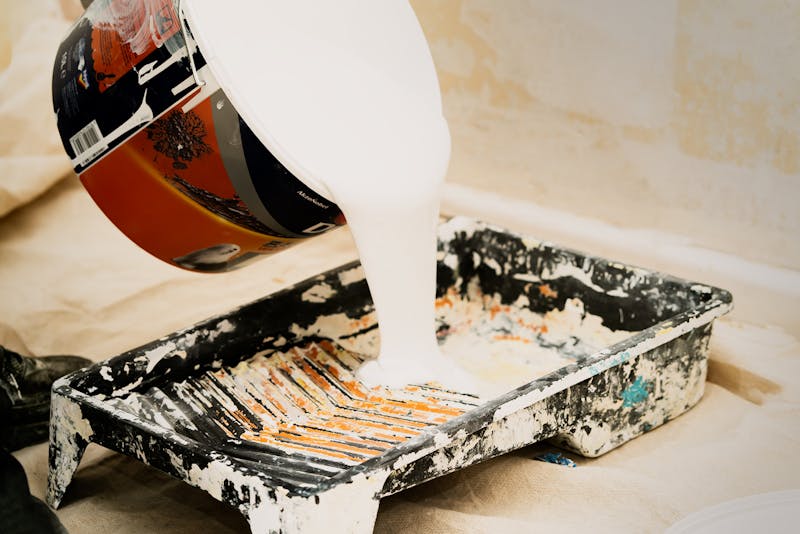
Selecting the right paint can be confusing, given the many types, finishes, and brands available. The ideal choice depends on your home’s material, local climate, and desired finish.
Using low-quality paint or the wrong type for your exterior surface can result in premature fading, cracking, and frequent maintenance. Investing in premium paint designed for exterior conditions ensures durability and a professional look.
Types of Exterior Paint
- Acrylic Latex Paint: Highly recommended for most homes, it is durable, flexible, and resistant to cracking. Works on wood, stucco, and brick.
- Oil-Based Paint: Offers excellent adhesion and durability, ideal for metal surfaces or areas exposed to heavy wear. Requires longer drying times.
- Elastomeric Paint: Thick and flexible, perfect for covering minor cracks and protecting masonry or stucco surfaces.
Understanding the pros and cons of each paint type will help you choose the right product for your specific needs.
Selecting the Right Finish
The finish affects both aesthetics and maintenance:
- Flat/Matte: Hides imperfections but can be harder to clean.
- Eggshell: Slight sheen, easier to clean than flat, suitable for most walls.
- Satin: Moderate gloss, durable, and easy to maintain.
- Semi-Gloss/Gloss: Highly durable and weather-resistant, ideal for trim, doors, and shutters.
Choosing the correct finish for your exterior can significantly affect the long-term appearance and performance of your paint.
Timing Your Exterior Painting Project
Weather and seasonal conditions can greatly impact the success of your exterior paint job. Painting at the wrong time can result in blistering, peeling, or uneven drying.
Most exterior paints require dry conditions and moderate temperatures for optimal adhesion. Avoid painting in extreme heat, freezing temperatures, or high humidity.
Ideal Weather Conditions for Painting
- Temperature: Aim for 50°F to 85°F. Avoid painting in temperatures below 40°F or above 90°F.
- Humidity: Keep humidity below 70% to allow proper drying.
- Rain: Avoid painting if rain is expected within 24–48 hours.
Monitoring local weather forecasts can save you time and prevent costly mistakes, ensuring a smooth and long-lasting finish.
Best Time of Year to Paint
Spring and early fall are generally ideal for exterior painting in most regions. Summer can work if temperatures are moderate, while winter is often too cold or damp.
Planning your project around favorable weather helps minimize surface cracking, peeling, and color fading, ensuring that your investment in paint and labor lasts longer.
Tools and Techniques for a Professional Finish
Having the right tools and mastering proper techniques can elevate your DIY exterior painting project. Using subpar tools or improper methods is a common reason paint jobs look uneven or streaky.
Professional results require brushes, rollers, or sprayers suited for your surface, along with ladders, drop cloths, and painter’s tape to protect surroundings.
Choosing the Right Tools
- Brushes: Use high-quality synthetic brushes for smooth surfaces and natural bristle brushes for rough or textured siding.
- Rollers: Ideal for large flat surfaces, choose rollers with the right nap length depending on the wall texture.
- Paint Sprayers: Save time on large areas, but require skill and proper masking of windows and landscaping.
Using proper tools helps achieve even coverage, reduces streaks, and ensures efficient application.
Painting Techniques to Master
- Cutting In: Paint around edges and corners first for clean lines.
- Rolling: Use a “W” pattern to avoid roller marks and ensure even distribution.
- Multiple Coats: Apply at least two coats for a durable and uniform finish.
- Maintain a Wet Edge: Prevent lap marks by keeping a wet edge while painting.
Following these techniques ensures a professional-quality finish that enhances your home’s exterior aesthetics.
Safety Tips Every Homeowner Should Follow
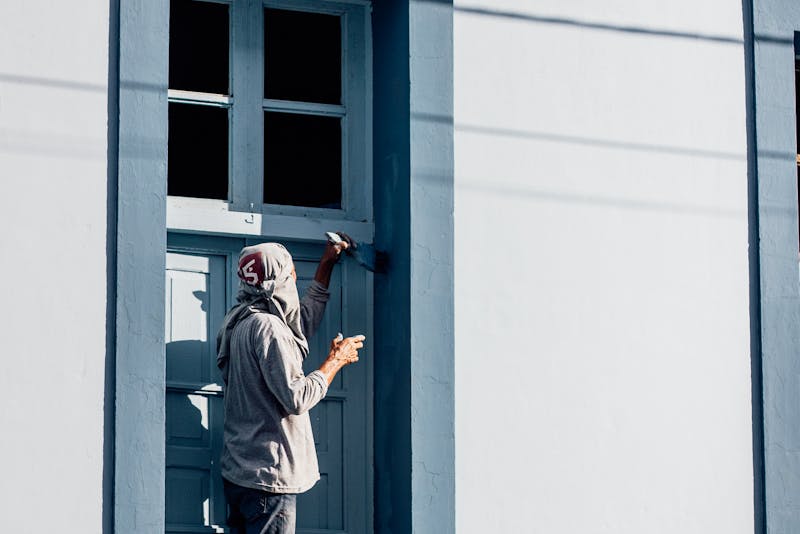
Exterior painting can involve ladders, scaffolding, and exposure to chemicals. Prioritizing safety protects you and your property.
Wearing protective gear, working with a partner, and securing your ladders or scaffolds are essential steps in reducing accidents.
Personal Protective Equipment (PPE)
- Gloves: Protect hands from chemicals and rough surfaces.
- Goggles: Shield eyes from splashes or debris.
- Masks/Respirators: Prevent inhalation of fumes, especially when using oil-based paints.
- Protective Clothing: Wear long sleeves and pants to avoid skin contact.
Proper PPE ensures safety and allows you to work comfortably for longer periods.
Ladder and Scaffolding Safety
- Ensure ladders are on stable, level ground.
- Never overreach while on a ladder; move it instead.
- Follow the manufacturer’s instructions for scaffolding assembly.
- Have a partner assist when handling heavy paint cans at heights.
Maintaining safety protocols reduces the risk of falls or injuries, making your exterior painting project stress-free.
Common Mistakes to Avoid in Exterior Painting
Even experienced homeowners can make errors that compromise their exterior paint job. Awareness of these pitfalls helps prevent costly repairs or early repainting.
Rushing the Preparation Process
Skipping cleaning, sanding, or repairing surfaces may save time initially, but will reduce paint adhesion, causing peeling and cracks.
Using the Wrong Paint or Finish
Selecting a paint not suited for your siding material or climate can lead to fading, blistering, or early wear. Always check paint specifications and durability ratings.
Ignoring Weather Conditions
Painting in extreme temperatures or high humidity can result in uneven drying, streaks, and peeling. Timing your project is as important as proper prep work.
Inconsistent Application
Uneven rolling, improper cutting in, or insufficient coats can leave streaks and blotches. Taking your time ensures a uniform and polished finish.
Maintenance Tips to Extend Your Exterior Paint Job
Once your exterior is freshly painted, proper maintenance ensures that it continues to look great and lasts longer.
Regular Cleaning
- Rinse off dirt, pollen, and debris twice a year.
- Use mild detergent and a soft brush to remove tough stains.
Inspecting for Damage
- Check for cracks, peeling, or moisture issues annually.
- Address minor problems promptly to prevent larger repairs.
Repainting and Touch-Ups
- Perform touch-ups where paint has chipped or faded.
- Plan for a full repaint every 8–12 years, depending on climate and paint quality.
Regular upkeep preserves your home’s aesthetic appeal and protects it from environmental damage.
Conclusion
Painting your home’s exterior is a rewarding project that significantly boosts curb appeal and protects your property. By following these exterior painting tips, homeowners can avoid common mistakes, achieve a professional finish, and extend the life of their paint job. Proper preparation, choosing the right paint, applying correct techniques, and maintaining safety are all key elements to a successful project. Remember, investing time in planning and execution pays off in the long run with a vibrant, durable, and eye-catching exterior.
Whether you’re a DIY enthusiast or planning to hire professionals, these tips will guide you in achieving a flawless exterior paint job that stands the test of time.