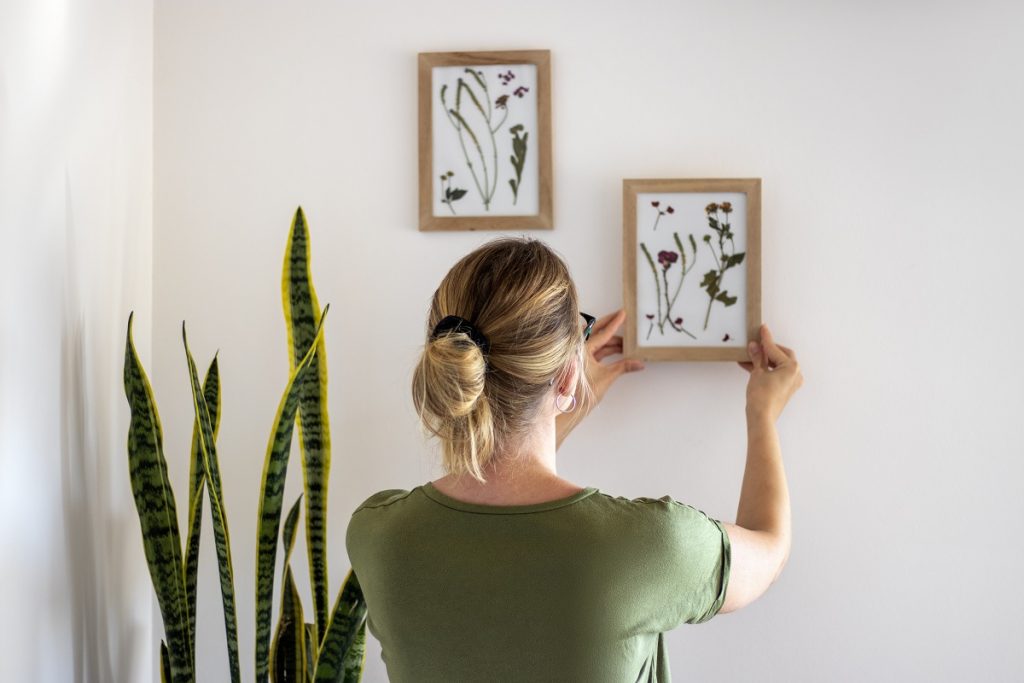

Hanging a picture should be simple, right? But if you’ve ever stared at a blank wall, hammer in one hand and a frame in the other, you know it’s not always that easy. Will it be straight? Is that nail in the right spot? Will it fall off in the middle of the night?
No worries—we’ve got you covered. Whether you’re a total beginner or just need a quick refresher, this step-by-step guide will help you hang a picture without the headache. Let’s turn those blank walls into something beautiful.
Why Does Hanging a Picture Feel So Complicated?
Let’s be honest—it’s not rocket science, but it still trips people up. That’s because it combines a few things that stress people out:
- Putting holes in the wall. What if you mess up and have to patch it?
- Measuring and leveling. You want it to look good and stay straight.
- Using tools. Not everyone loves handling drills and nails.
- Fear of damaging the frame or wall. Especially if it’s a rental or a special piece of art.
Here’s the secret: once you learn the steps and get familiar with a few tools and techniques, it becomes second nature. And even better—most of the tools are probably already in your drawer.
First Things First: What You’ll Need
Don’t overthink it. Hanging a picture doesn’t require a hardware store trip (unless you’re tackling a super heavy frame). But the right tools make it smoother and more accurate.
Your Picture-Hanging Toolkit
Here’s what you should gather before starting:
- Picture frame(s): Lightweight or heavyweight? Wire or sawtooth hanger?
- Measuring tape: A must for spacing and wall height.
- Pencil: Use something erasable for marking spots.
- Level: A small bubble level works great, or try a level app on your phone.
- Hammer or drill: Hammer for nails/hooks, drill for wall anchors or screws.
- Wall anchors: For heavy or medium-weight items going into drywall.
- Picture hooks or nails: Different sizes depending on the frame’s weight.
- Painter’s tape: Great for mockups and guides (and won’t damage your wall).
- Stud finder: Helps locate solid wood studs behind the wall—crucial for heavy pieces.
Optional (But Helpful):
- Laser level: Perfect for gallery walls or keeping things even in stairwells.
- Command strips or Velcro strips: Ideal for renters or lightweight frames.
- Rubber bumpers: Stick these on the bottom corners to keep pictures from shifting.
Set everything up in one spot and lay your frame face-down on a soft surface (like a towel) so you can inspect and prep the back without scratching it.
Step-by-Step: How to Hang a Picture (The Right Way)
This section is your go-to roadmap. Each step is simple on its own—but when you follow them together, you get awesome results.
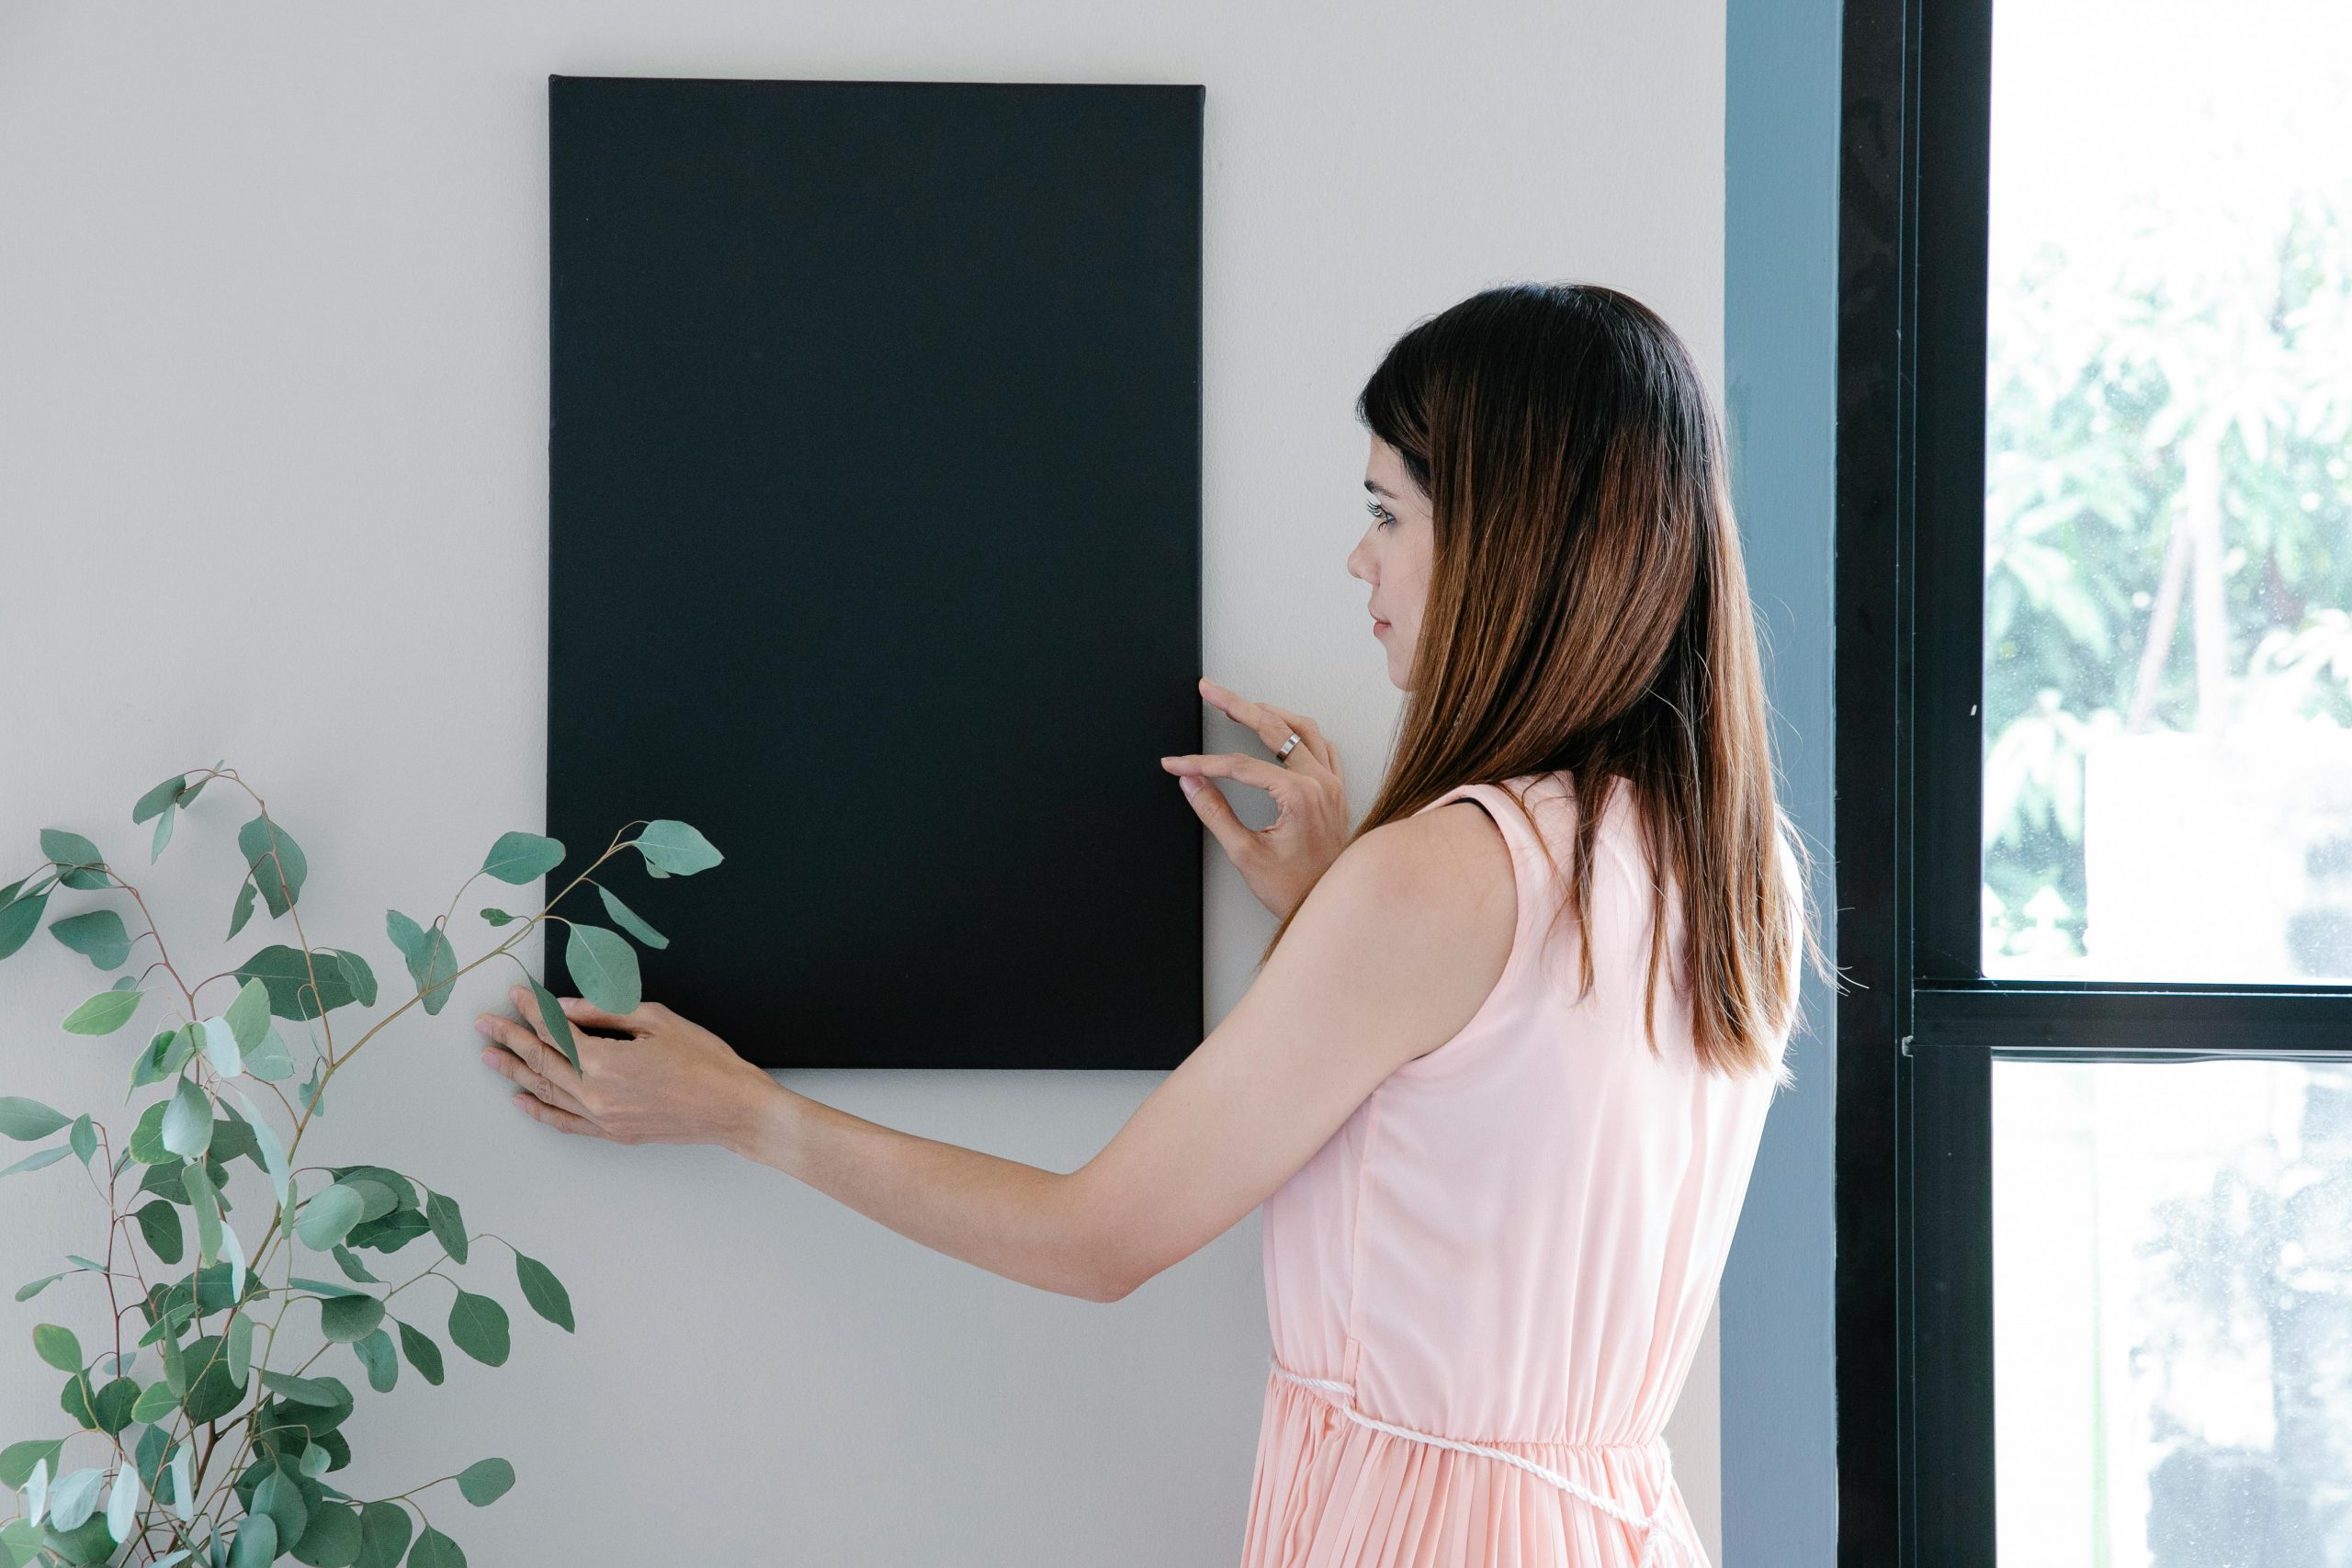
Step 1: Choose the Right Spot
Pick a wall that needs some visual interest—maybe a blank spot above the couch or a hallway that could use some love. Think about where your eyes naturally go when you walk into the room.
Placement Guidelines:
- For single pictures, aim for 57–60 inches from the floor to the center of the frame—this is the average eye level.
- When hanging above furniture (like a sofa or console table), leave about 6–10 inches of space between the top of the furniture and the bottom of the frame.
- For gallery walls, make sure the layout complements the furniture and room shape. Symmetry works well, but casual, eclectic layouts can look amazing too.
Stand back and visualize it before you make any marks. A little time planning now saves you from unnecessary holes later.
Step 2: Measure (Yes, It Matters)
Let’s squash the “eyeball it” method. It’s tempting, but one crooked or poorly placed picture can throw off the whole vibe.
Here’s How to Do It Right:
- Measure the width of the wall or furniture where the picture will go. This helps center the piece.
- Find the center point of that space and mark it lightly with your pencil.
- Measure your frame’s dimensions, then measure from the top of the frame to the hanging hardware (like the wire or sawtooth hanger).
- Mark that distance downward from your first pencil mark to find the nail location.
Pro Tip: Use painter’s tape to block out the frame’s size on the wall. It gives you a visual reference for placement and makes adjustments easier before committing.
Step 3: Mark Your Wall
Once you know where your frame will go, it’s time to mark the exact point for your fastener.
Follow These Steps:
- Flip the frame over and check where the hanging mechanism is. If it has a wire, pull it taut to measure the distance from the top of the frame to the peak of the wire.
- On the wall, go down that same distance from the top mark and place a small dot—this is where your hook, screw, or nail will go.
For heavier frames, this is also the time to check for a stud using a stud finder. If you find one, great—you’ll get a more secure hold using a screw directly into the stud.
Step 4: Choose the Right Hanging Hardware
Picking the right fastener is key—too weak, and your picture might crash in the middle of the night.
Match the Hardware to the Frame’s Weight:
- Lightweight (under 5 lbs): Use small nails or adhesive strips. These are perfect for photos or small art prints.
- Medium (5–20 lbs): Picture hooks or screws with wall anchors will give the support you need.
- Heavy (20+ lbs): You’ll need wall anchors drilled into the drywall or even better—mount into a stud. Use screws and D-rings or heavy-duty hangers.
Sawtooth hangers, D-rings, and wire all work slightly differently—so double-check what’s on your frame before choosing hardware.
Step 5: Install the Hardware
This is the point where things start to come together—literally.
- For nails, angle them slightly upward into the wall to better hold weight.
- For anchors and screws, drill a small pilot hole, insert the anchor, then screw in the fastener.
- Picture hooks are great because they distribute weight downward and often come with nail guides.
Take your time and double-check that the hardware is secure before you hang anything.
Step 6: Hang the Picture
Now the satisfying part—get that picture on the wall.
- If your frame has a wire, gently pull it toward the wall and hook it over the fastener.
- For D-rings or sawtooth hangers, line them up with your screws or hooks.
Once it’s on the wall, gently let go and step back. Take a look from different angles and adjust as needed.
Step 7: Level It Out
Even if you measured perfectly, sometimes the picture shifts or hangs unevenly. Use your level (or a level app on your phone) to check.
If it’s off:
- Adjust the wire slightly to one side.
- Add a small adhesive bumper or rubber dot to one corner.
- If it continues to slide, try anchoring it with a removable adhesive strip on the bottom edge.
Hanging Multiple Pictures? Here’s How to Nail the Layout
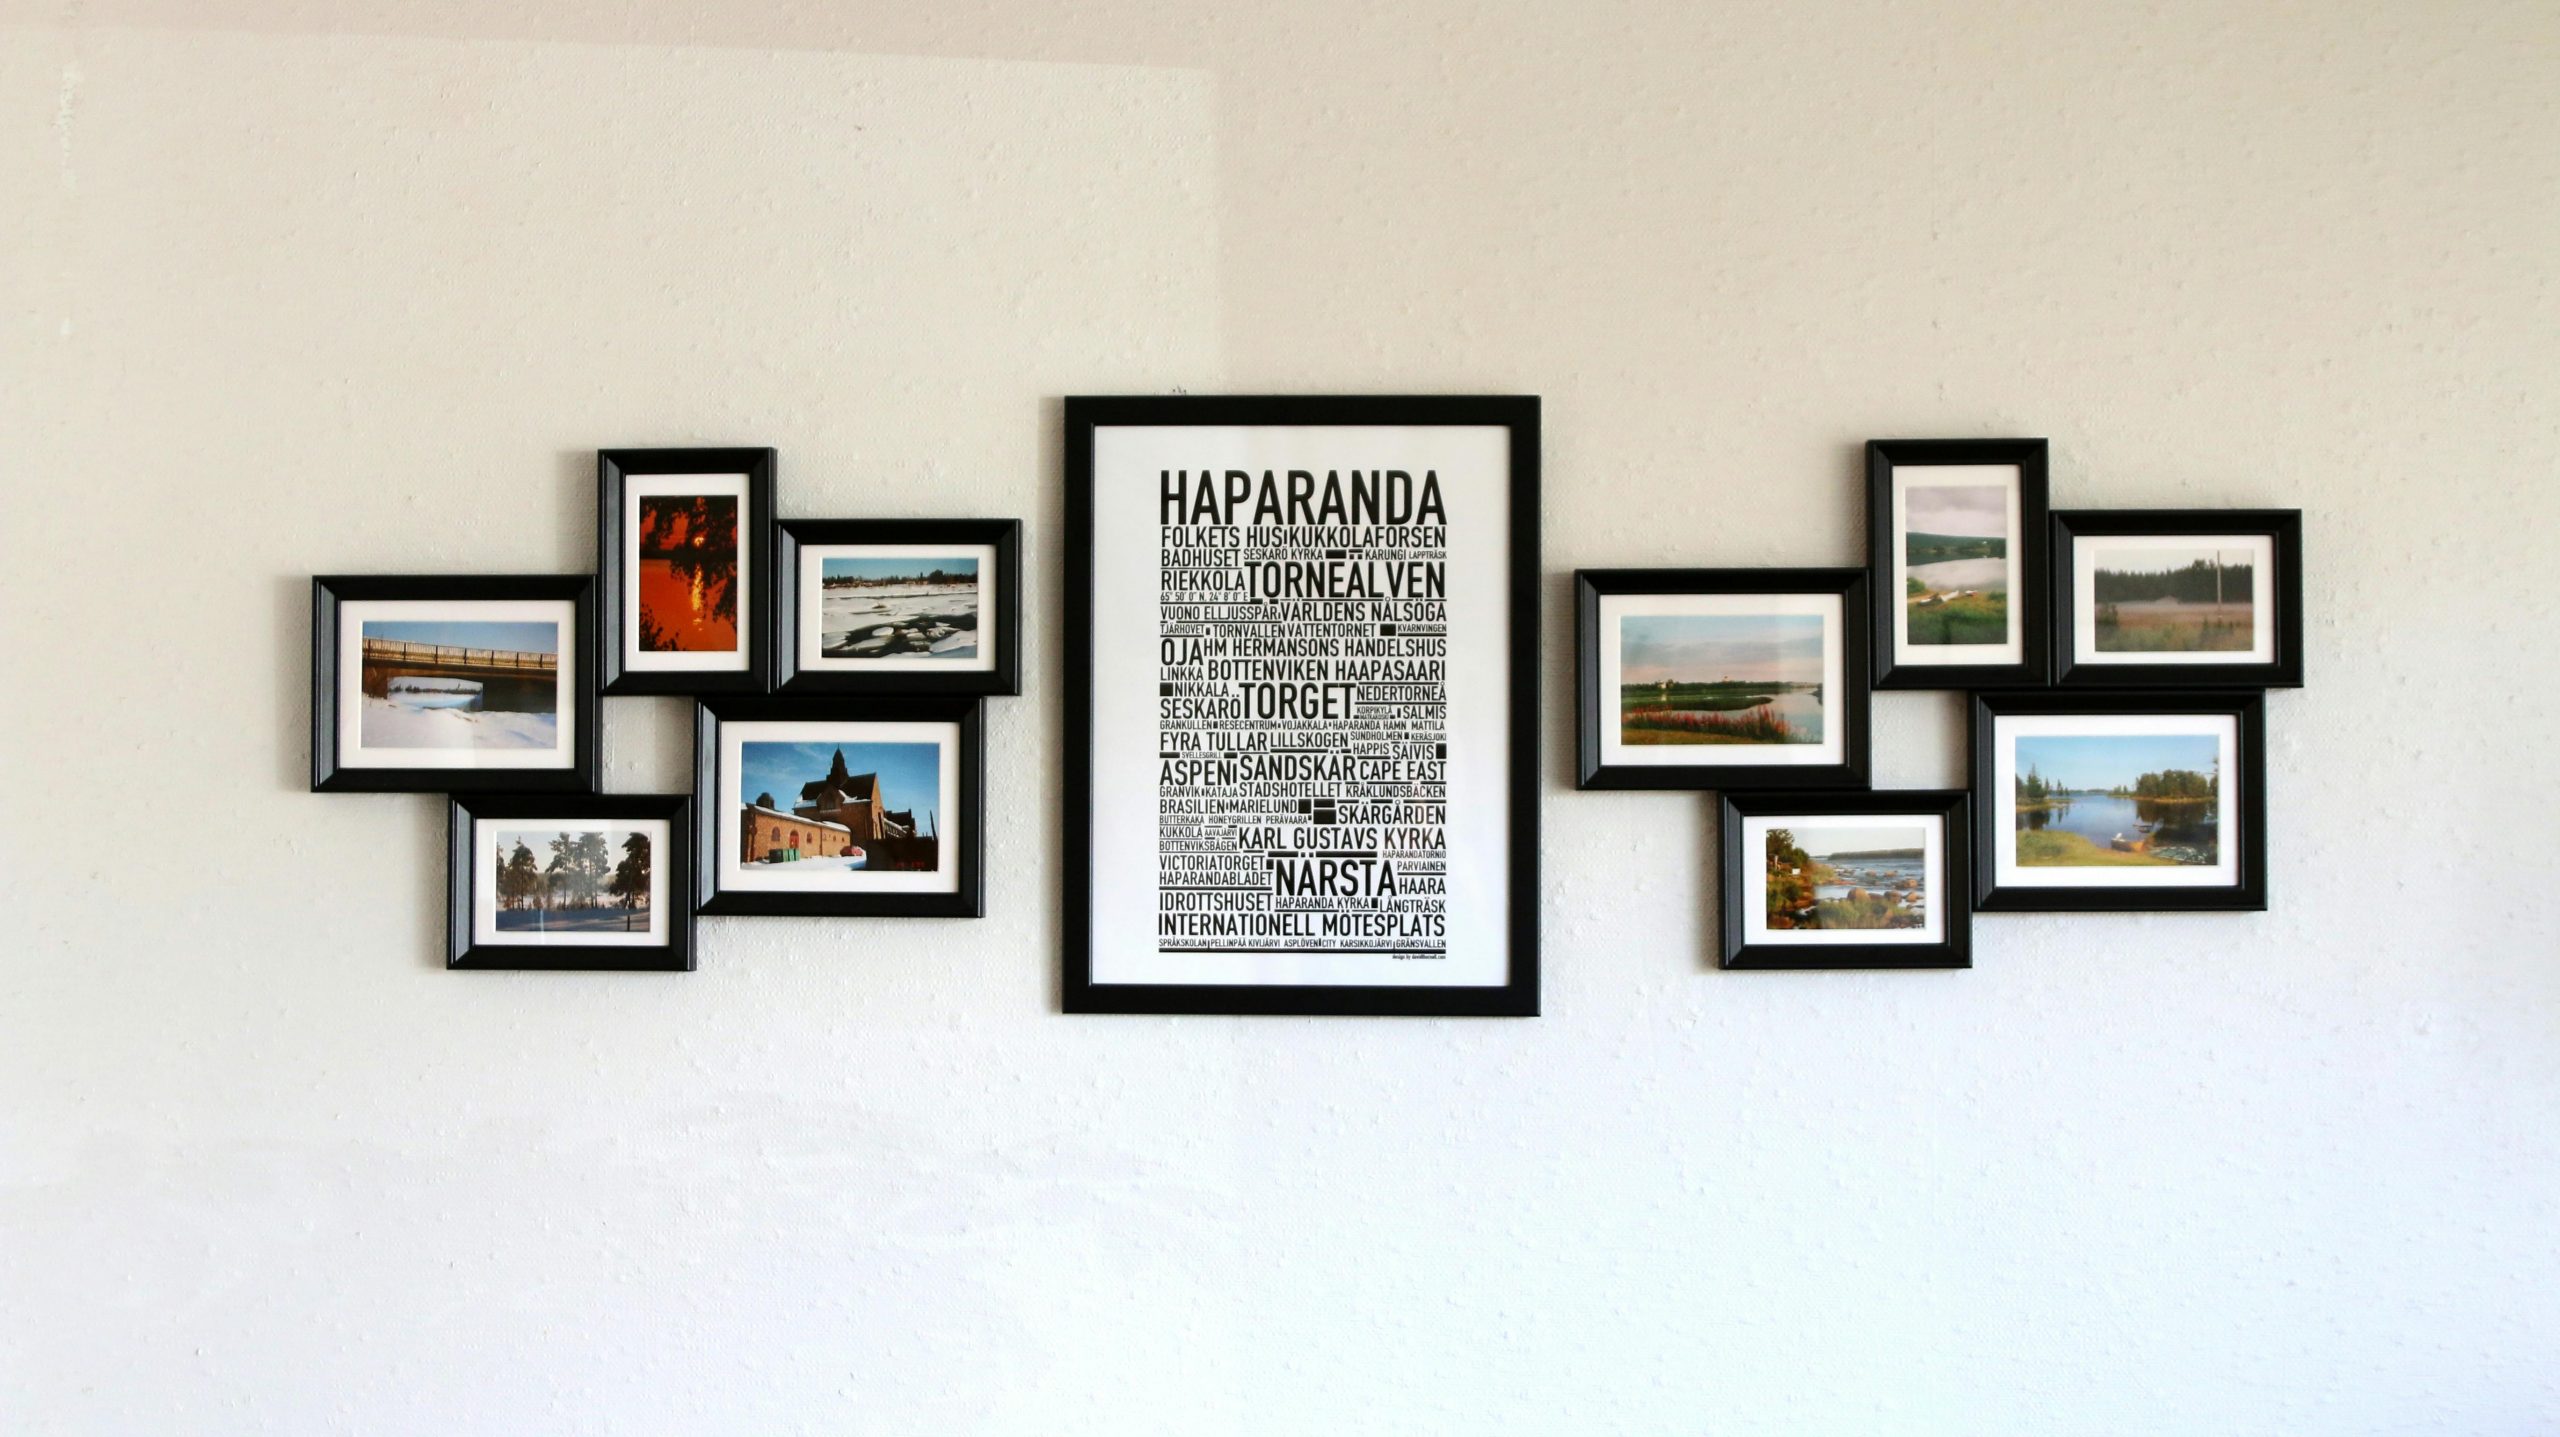
Gallery walls and picture groupings take a little more planning, but the results are worth it.
Pro Tips for Multiple Frames:
- Lay out your design on the floor first.
- Use paper templates (trace the frame on kraft paper) to tape on the wall and test your arrangement.
- Leave 2–4 inches between frames for clean spacing.
- Start with the center piece and work outward for a balanced look.
- Stick with similar frames or a color theme for a cohesive style—or go totally eclectic for an artsy vibe.
No Holes? No Problem: How to Hang Pictures Without Nails
Whether you’re renting or just don’t want to damage your walls, there are great no-nail options out there.
Nail-Free Hanging Ideas:
- Command Strips: Strong and removable. Great for frames under 16 lbs.
- Velcro strips: Adjustable and forgiving if your picture hangs slightly crooked.
- Damage-free hooks: Stick-on options that work on tile, glass, and painted walls.
- Tension rods + clips: Hang lightweight art between window frames or built-ins.
Just be sure to clean the wall first and follow the weight limits listed on the packaging.
Common Mistakes to Avoid
A few common errors can throw off your hard work. Avoid these and you’ll save time and stress:
- Skipping measuring or leveling
- Using nails for heavy frames
- Hanging too high or too low
- Ignoring wall type (drywall vs. brick vs. plaster)
- Forgetting about furniture placement and scale
Always step back and assess the balance of the room once you’ve hung your art. Does it look centered? Too high? Crowded? Don’t be afraid to adjust!
Tricky Walls? Try These Solutions
Different wall surfaces need different strategies:
- Brick or concrete: Use a masonry bit, wall anchors, and masonry screws.
- Tile: Go with adhesive hooks or drill slowly using a ceramic tile drill bit.
- Plaster: Use caution—it’s brittle. Try picture hooks rated for plaster walls.
- Paneling or wood walls: Nail or screw directly into the surface for a rustic look.
Creative and Stylish Hanging Ideas
Want to make your walls a little more fun or modern?
- Hang frames from decorative hooks or pegs for a vintage vibe.
- Use floating shelves for layered art arrangements.
- Try a clothesline-style wire with mini clips for an artsy or kid-friendly display.
- Create a grid layout with square prints and uniform spacing for a contemporary look.
Your wall is your canvas—don’t be afraid to experiment!
In a Nutshell
Hanging a picture doesn’t have to be complicated. With a little prep, the right tools, and some patience, you can decorate confidently and beautifully. Whether it’s your first photo or an entire gallery wall, it’s all about making your space feel like home.
Remember: the worst-case scenario is a tiny hole that can be patched. So go ahead—grab that hammer (or strip, or hook) and make it happen.